
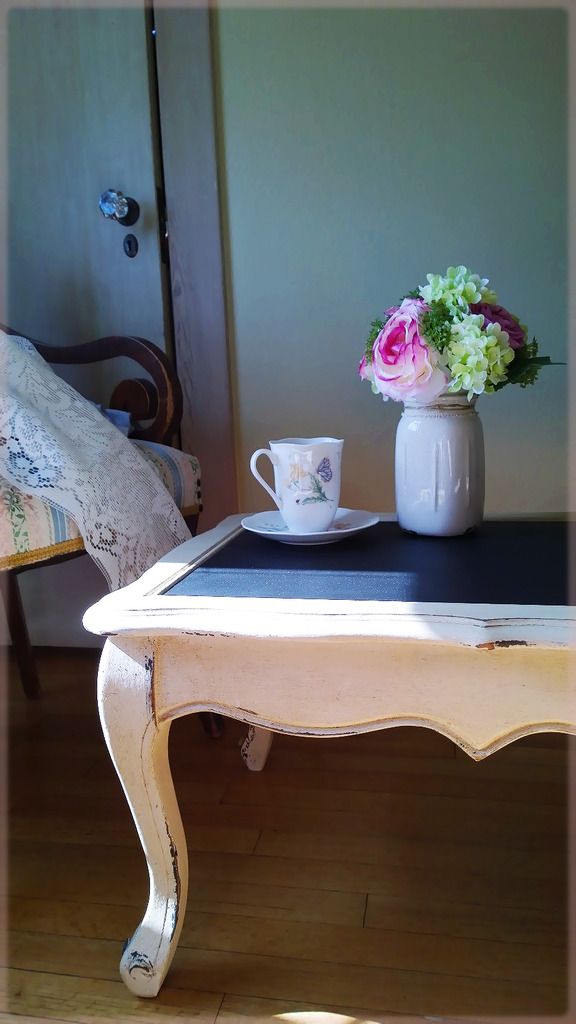
So I found this super cute coffee table on Craigslist for $15 (originally listed for $25 but I managed to coax her into it ;). Unfortunately I forgot to take a “before” photo (such a noob mistake), but it has a glass pane on top. I had big ideas for this piece and started working right away; I discovered this tutorial for using Vaseline over the base coat for a super chippy effect.
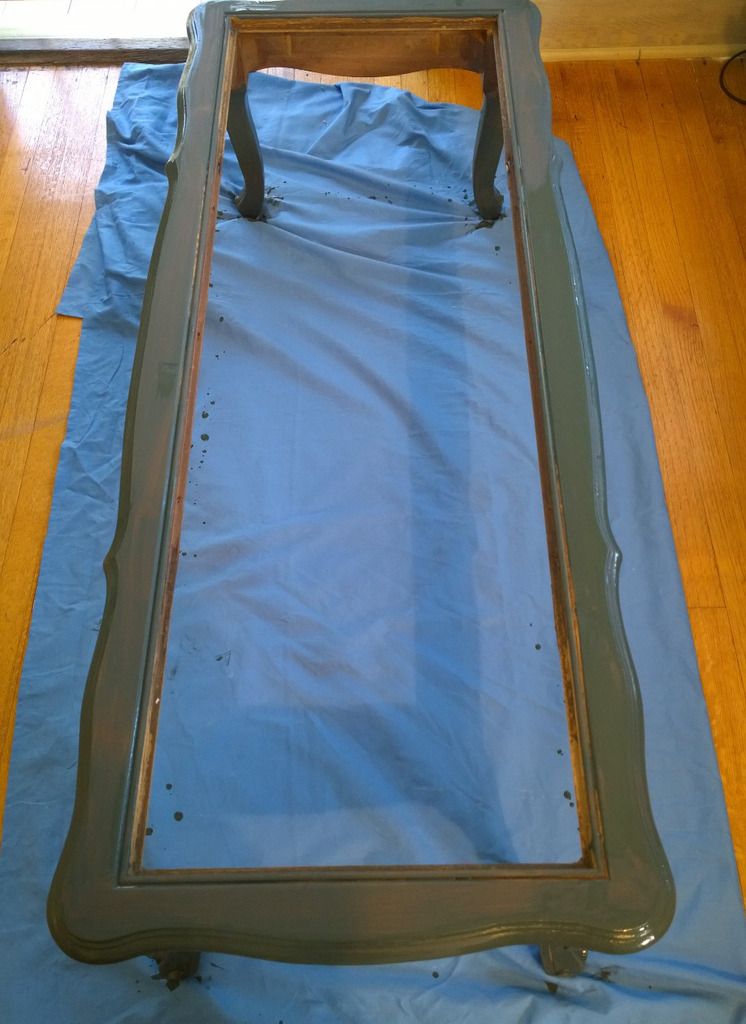
So first I mixed my chalk paint using Behr’s Astonomical as the first coat, I wanted something black but not too black and this color was a perfect shade of charcoal-blue.

First I painted my table with the base color, paying close attention to the areas which will later be rubbed in with vaseline. I didn’t really care too much about application, just slapped it on like so.
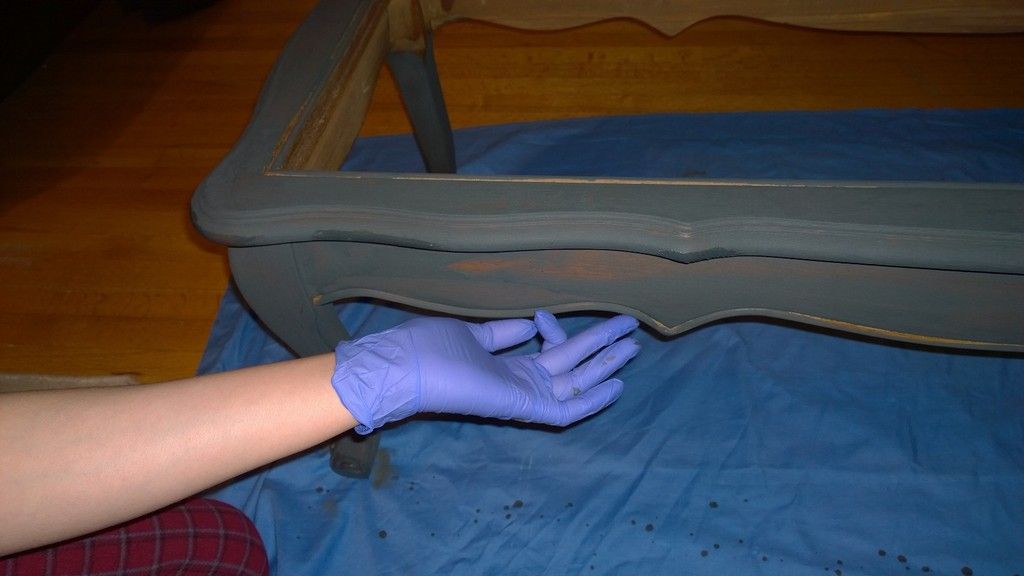
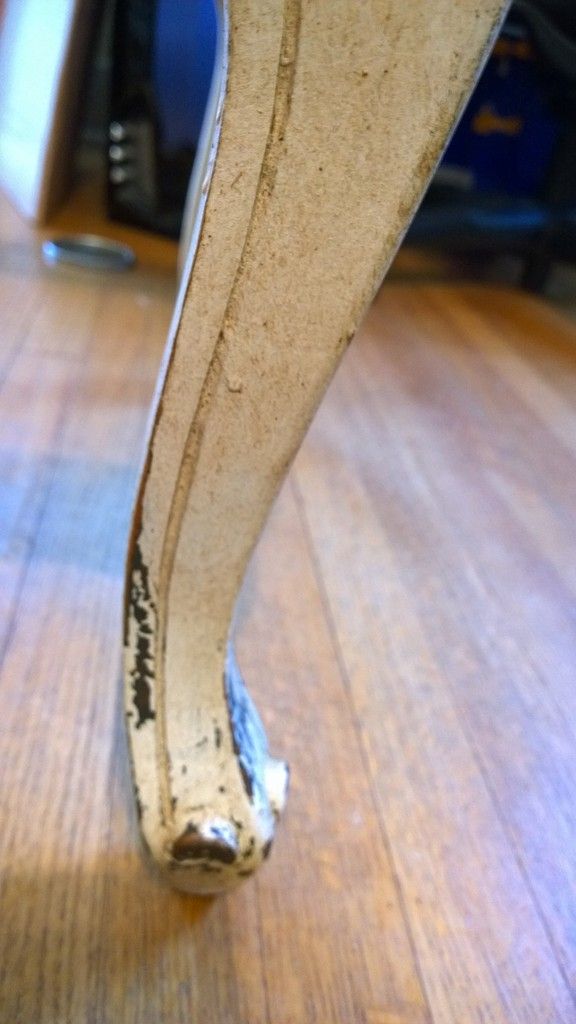
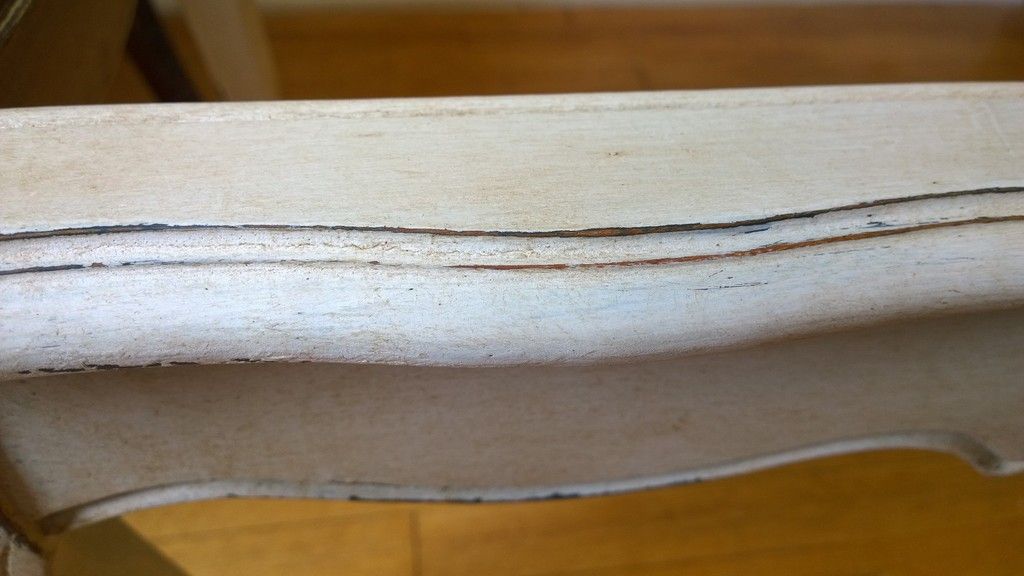
I then waited for it to dry (it only took an hour!) and started to apply my petroleum jelly in areas that will naturally wear in over the years. At this point I wasn’t sure if I should apply a lot or a little. So I did more in some areas and less in others. Now in retrospect I wished I would have applied a lot less, I am not a big fan of super chippy effects on furniture.

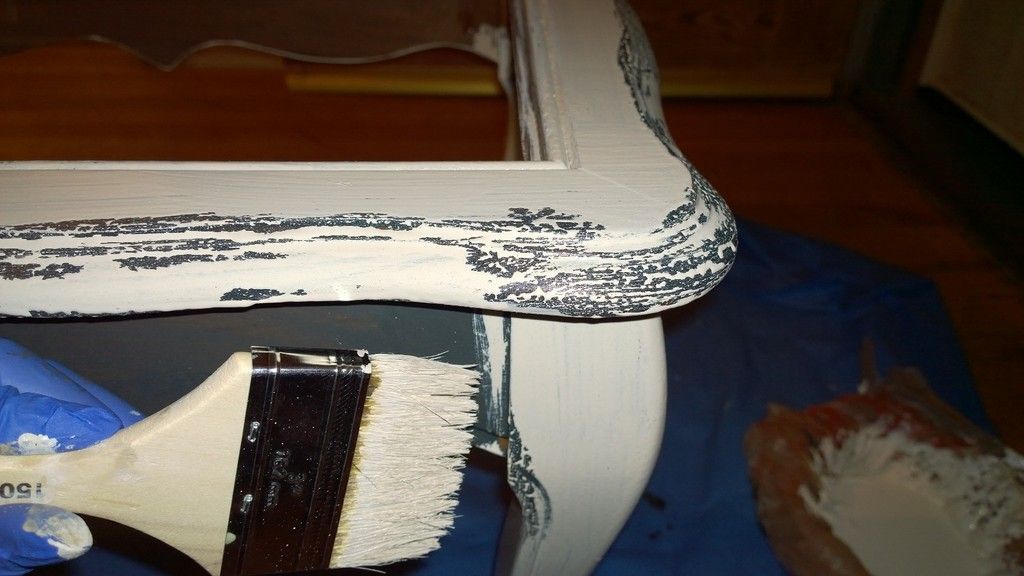
I then painted over my table with Annie Sloan’s Old White. I used an inexpensive flat brush because i didn’t want to get vaseline all over my more expensive brushes. Immediately I could tell that the paint was being repelled in the areas that were coated with petroleum jelly. It was so exciting! I knew that sanding this piece later will be a cinch.
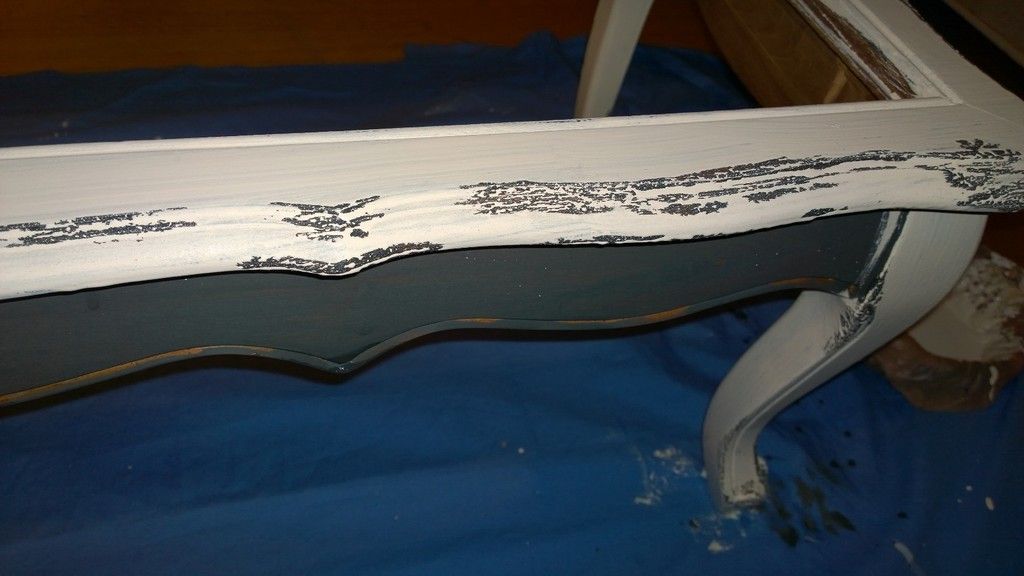
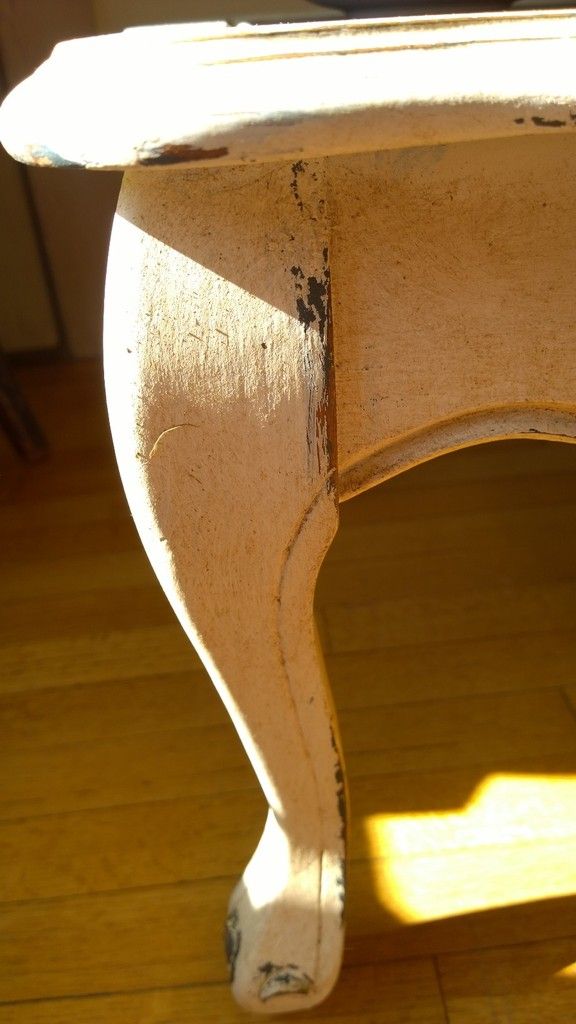
Honestly, being my first try it wasn’t that horrible looking, but once the table was dry I knew i had made a huge mistake applying too much Vaseline. Sometimes less is more in this case ya know?
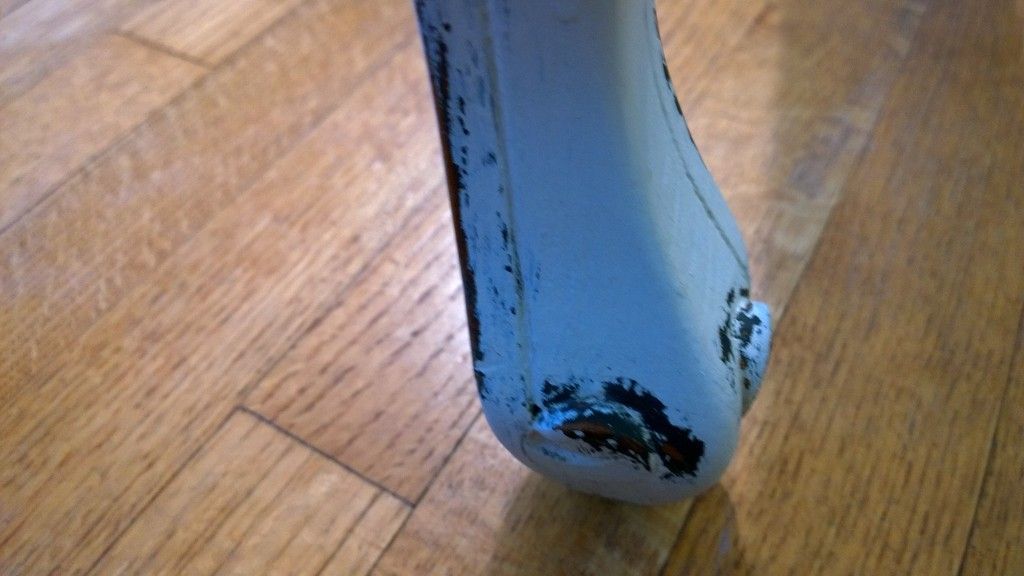
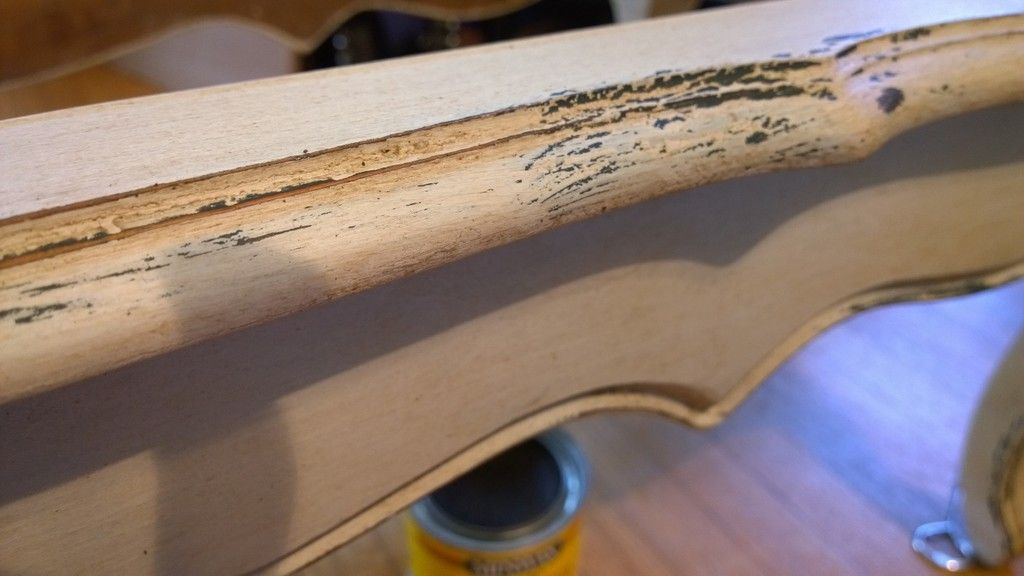
No fear! All I had to do was wait until the table was dry…sand off the vaseline and then just paint a finishing coat over the top right? WRONG. Even with a second coat of paint, the color still won’t take!
At this point I was starting to panic a little. I had no choice but to make the best out of what I had, a very strangely chipped coffee table that looked awful.
Changing my strategy, I decided to go with dark wax hoping that it will draw attention away from my horrible black/white coffee table. I applied a coat of Minwax’s clear wax, waited 15 minutes and then applied a layer of dark wax. I didn’t have a round brush on hand so I opted for a flat brush. As I applied with the flat brush I swirled it in a circular motion, adding some pressure in the corners and accents.
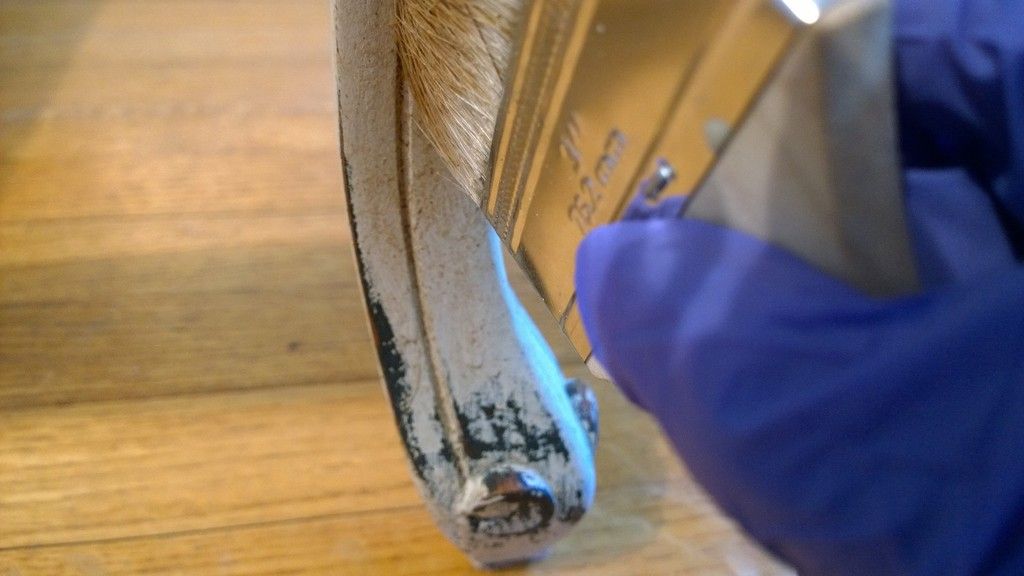
Like I said before, I love Minwax because it gave furniture a light golden color. It isn’t too heavy and it fills in the wood grains very well, my table was actually looking very good after the second coat!
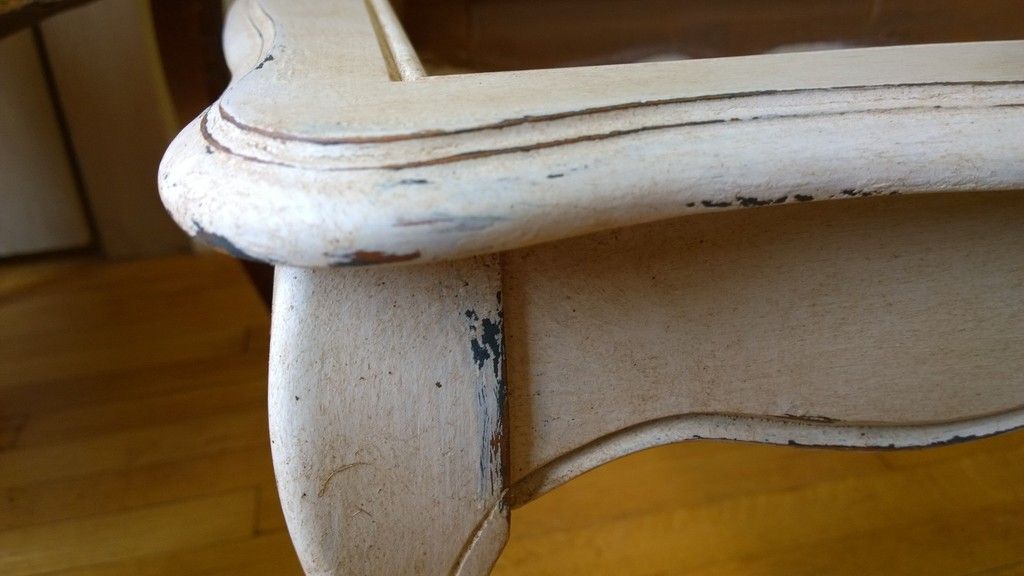
I actually fell in love with this table after adding the dark wax. It made such a huge difference and immediately I could tell that I will be waxing many pieces from now on.

Unlike others, I didn’t wipe off the dark wax with a rag. I just applied two coats using a brush, and left it to dry. This is why I love Minwax, the color goes on light enough that you don’t need to buff it out too much.
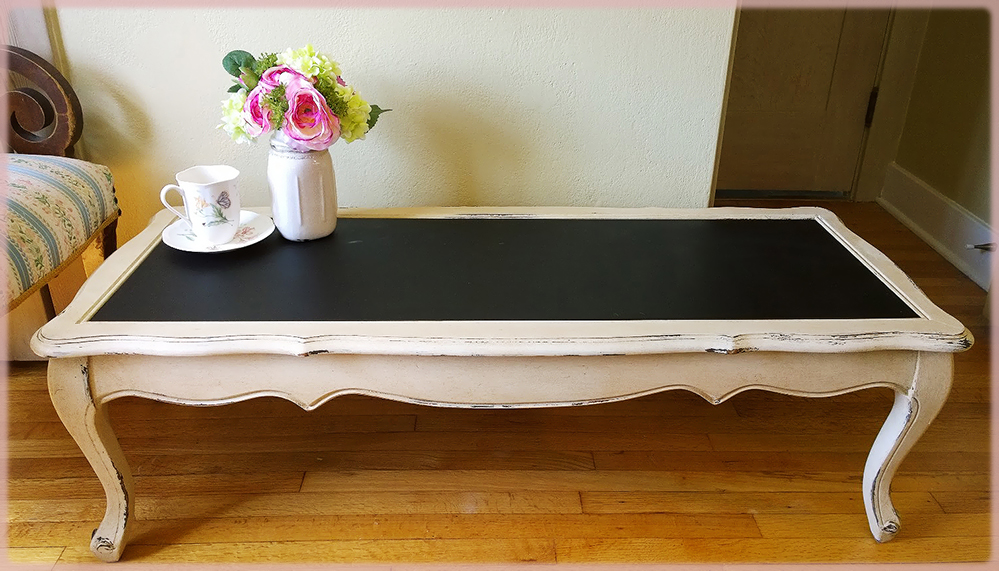
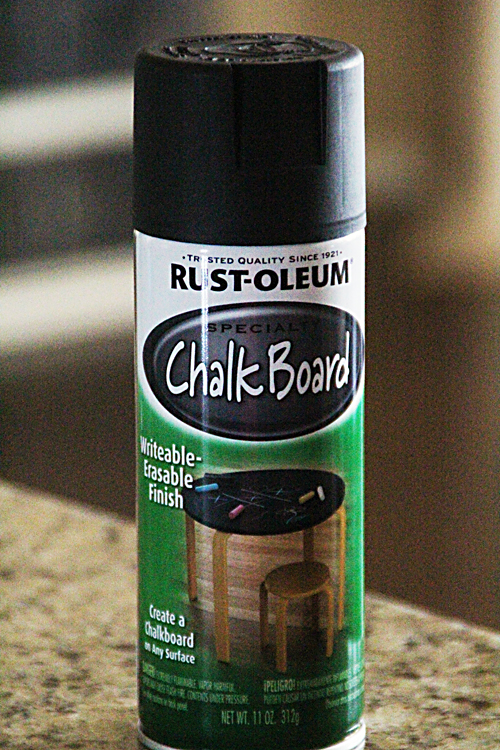
The second part of my plan involved the glass top part of this table, I went and bought some chalkboard spray paint. I then took the glass pane and gave it two coats.
I waited for everything to dry, put those pieces together and sealed it with some polyurethane!

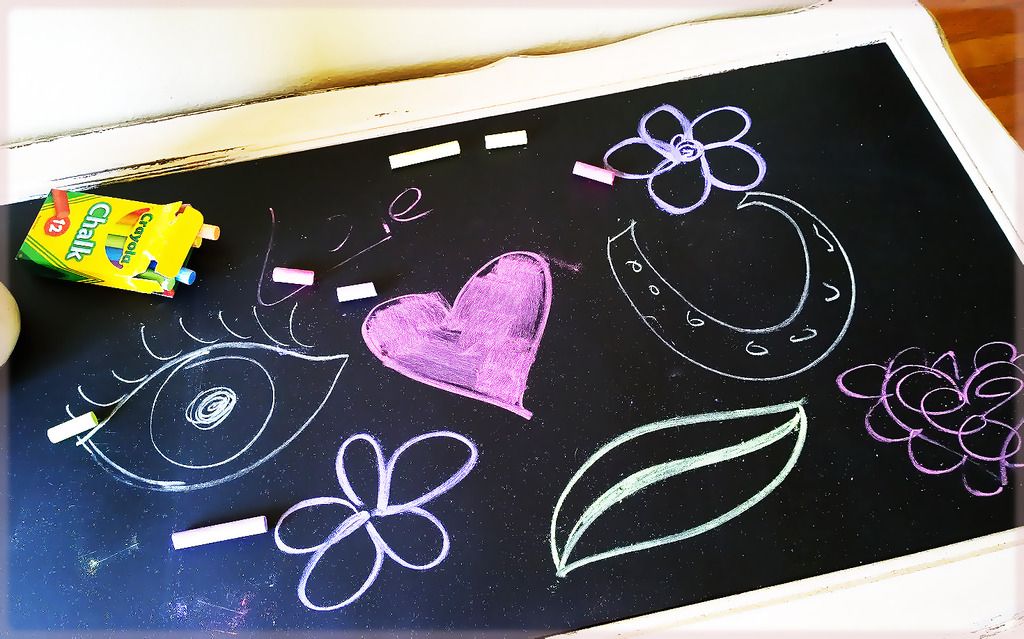
I’ll be drawing on this table for weeks to come! 😉