Hardware Gal

26 May

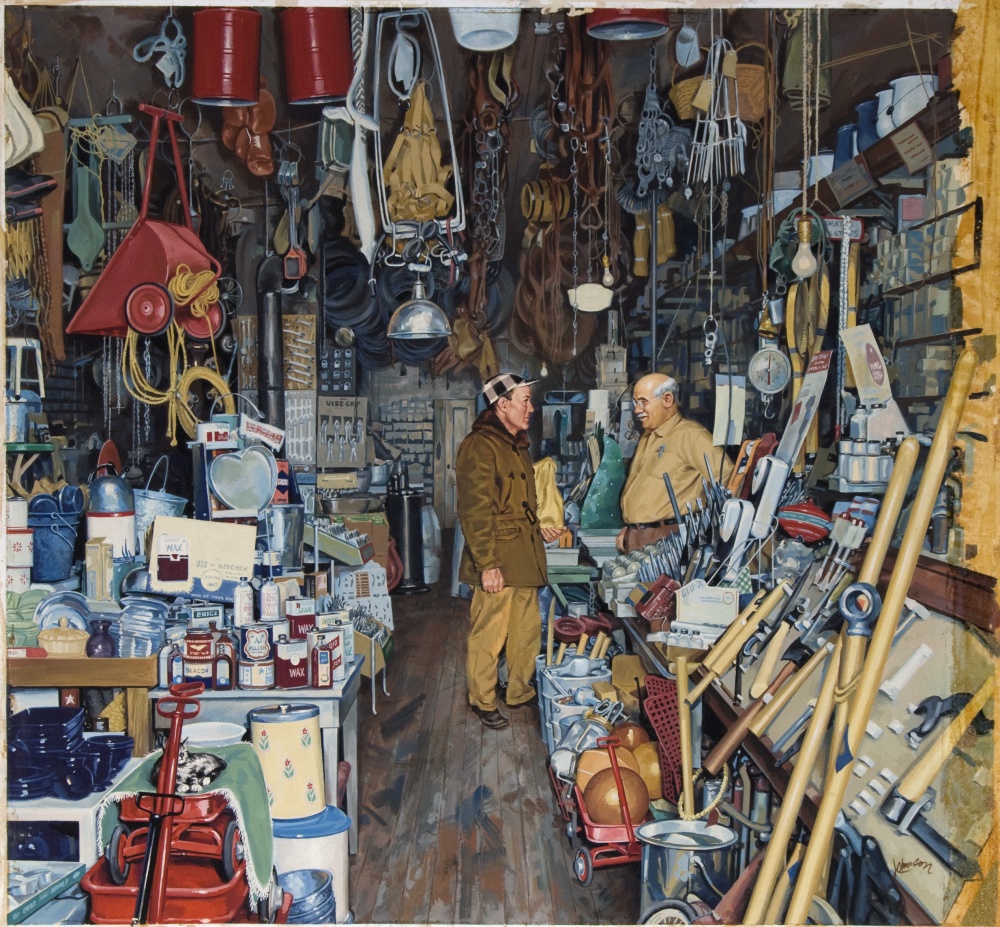
I never thought that I would be spending my time at Home Depot on the weekends. Seriously, these days have been spent roaming the hardware aisle looking at all the sparkly little gems that are oh so beautiful. They look so intimidating, big burly mechanical things that seem to scream “NOT for wussies”. Honestly I find it very exciting. I am ready to take on these bad boys ;).

Palm sander or orbital sander?

I knew that my first expensive investment would have to be a palm sander, I hate having to spend so much time sanding everything by hand. As of right now I don’t really do too much prepping before painting, and although my projects look great without it, I am a perfectionist and was raised with the “do it well or don’t do it at all” mentality. These things won’t just cut my sanding time in half, but will leave a very smooth foundation for my paint as well.

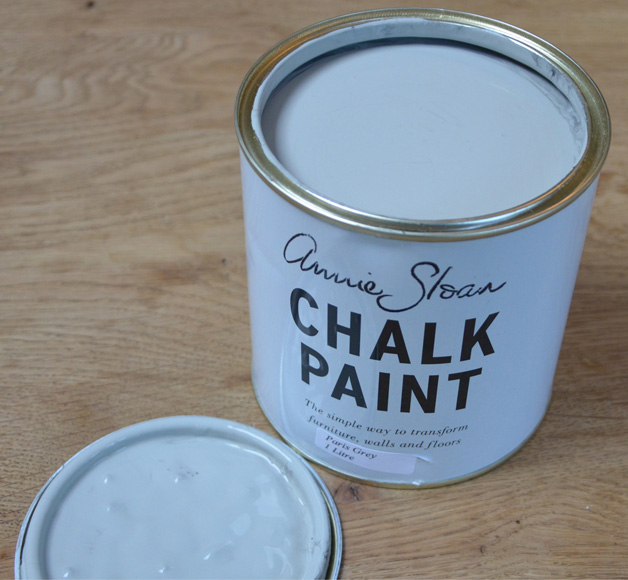
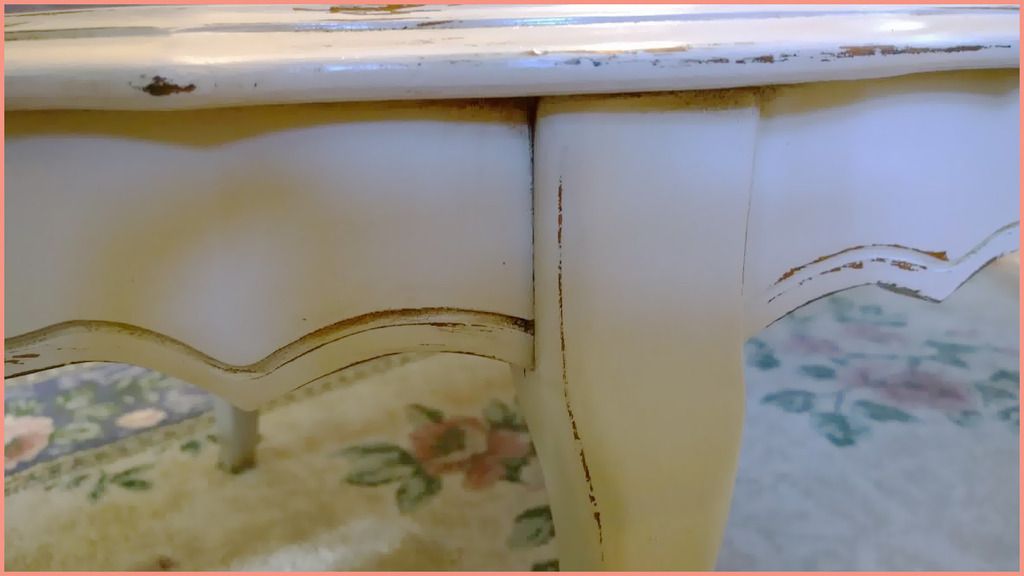
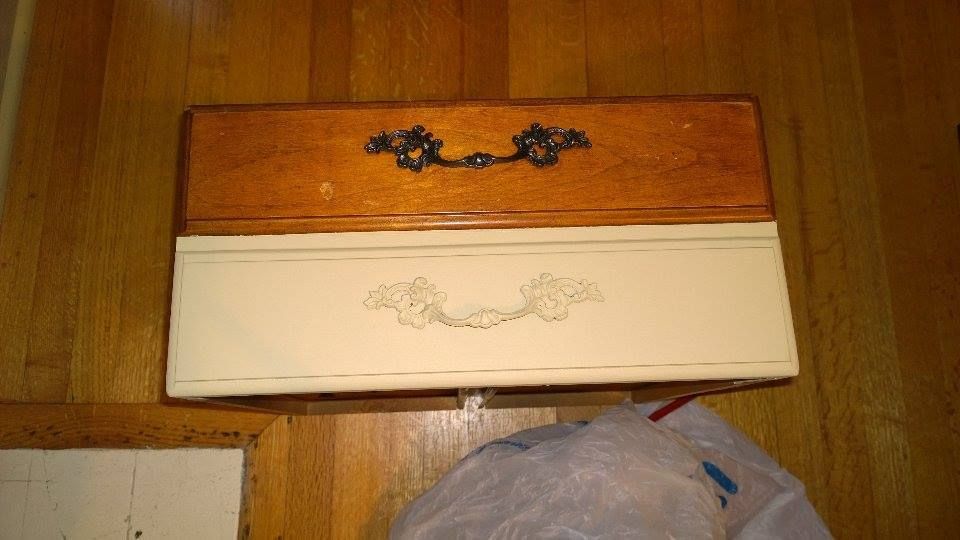
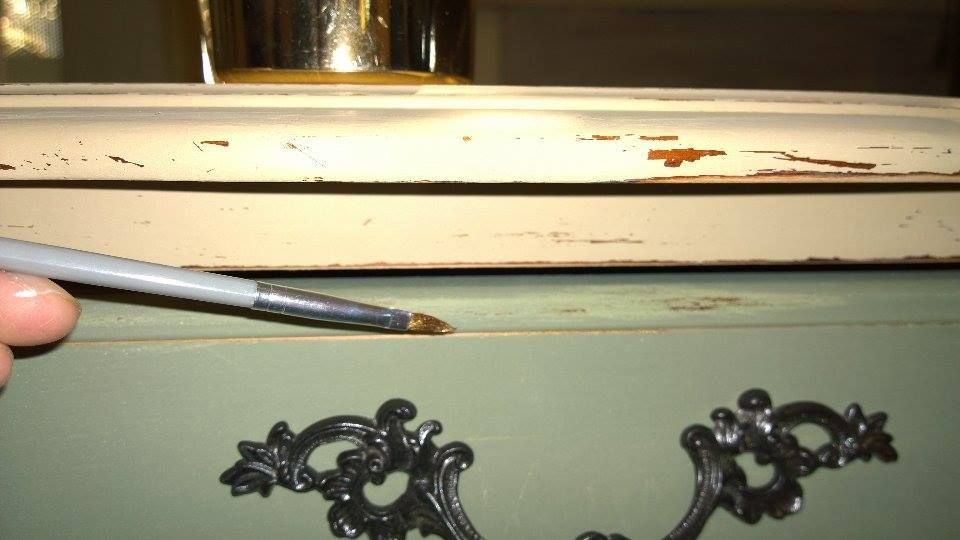
I know a lot of people say that you don’t need to prep for chalk paint, but honestly sanding is so important because you are removing a surface of grime and dirt that has accumulated over the years. It just can’t look its best without sanding.

Saws and more saws!

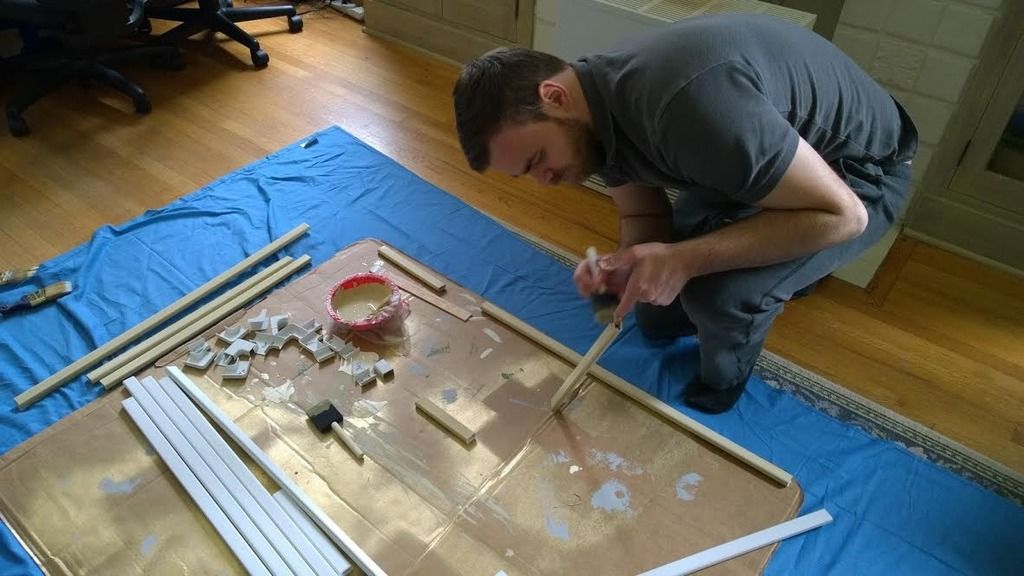
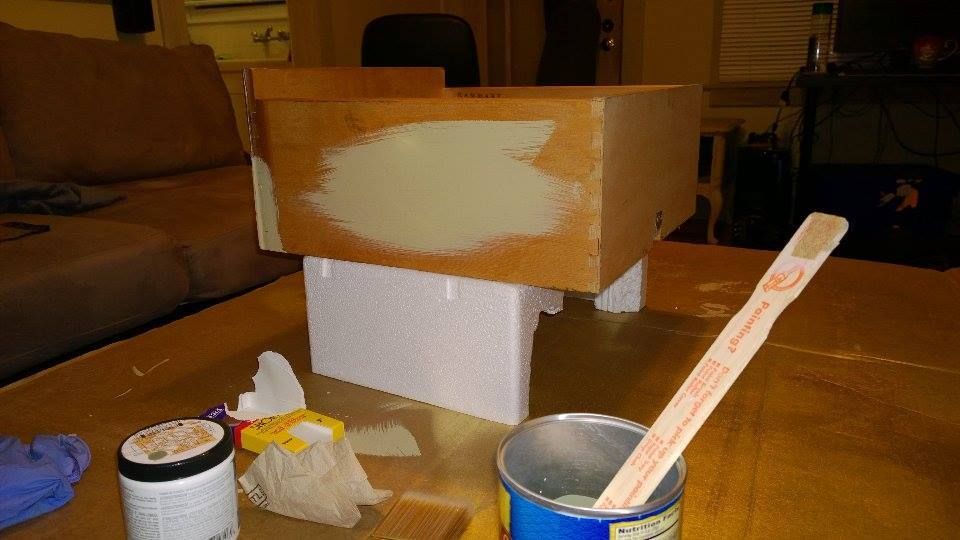
I was watch American Restoration on the History Channel last night and I learned that you can make your own wood filler by saving your sanding dust and mixing it with glue! How awesome is that? I just love learning new things.

Another thing I discovered is that you can use foam to kneel on. My husband got these egg crate pads from shipping containers at his hospital, they make it bearable for when I am on my knees painting or sanding. It’s fantastic!

Use foam pads to kneel on!

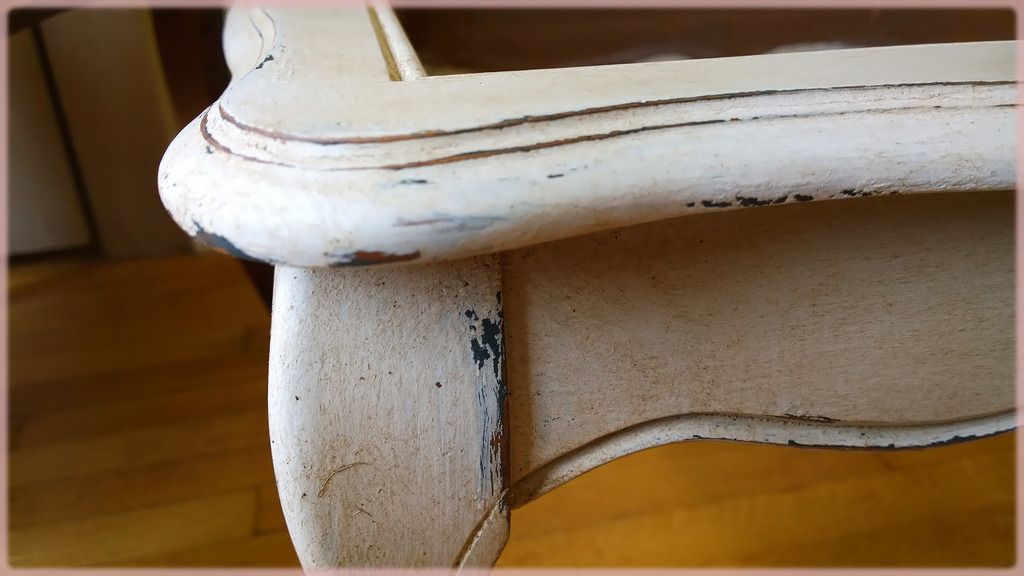
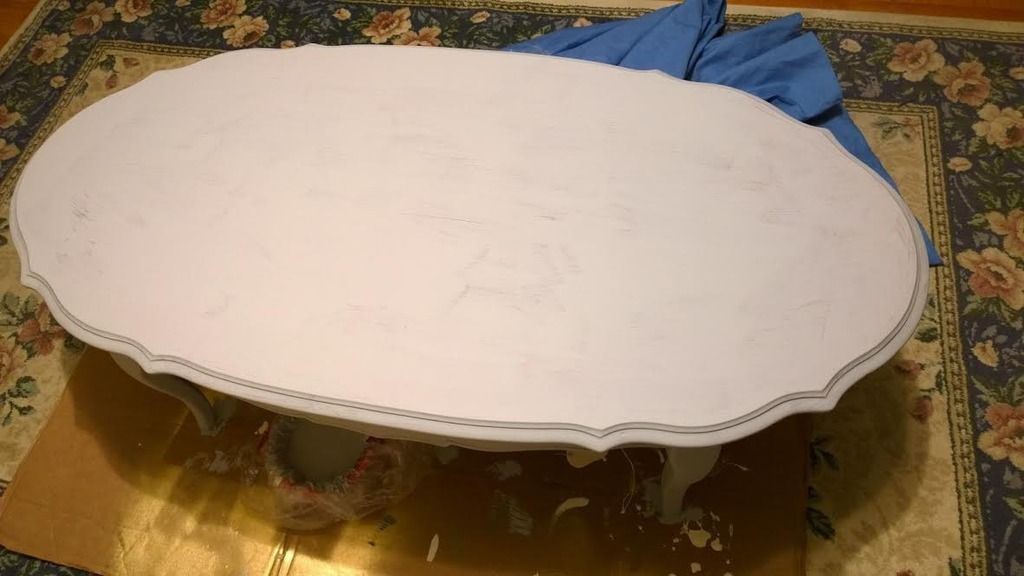
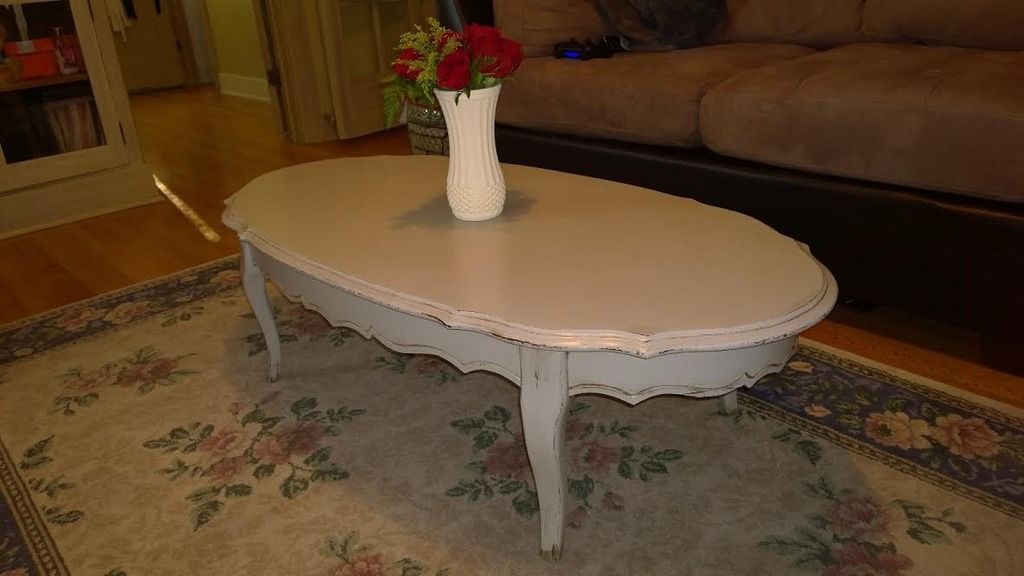
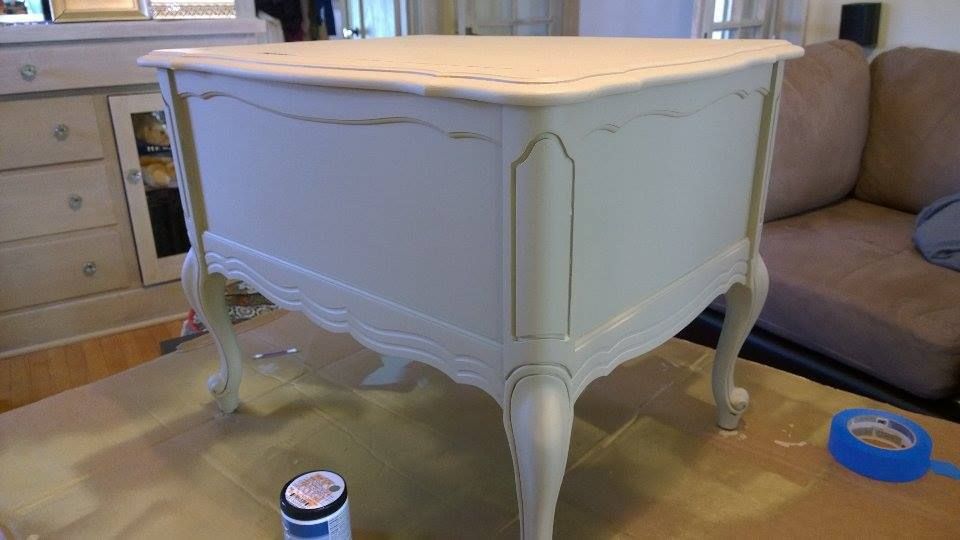
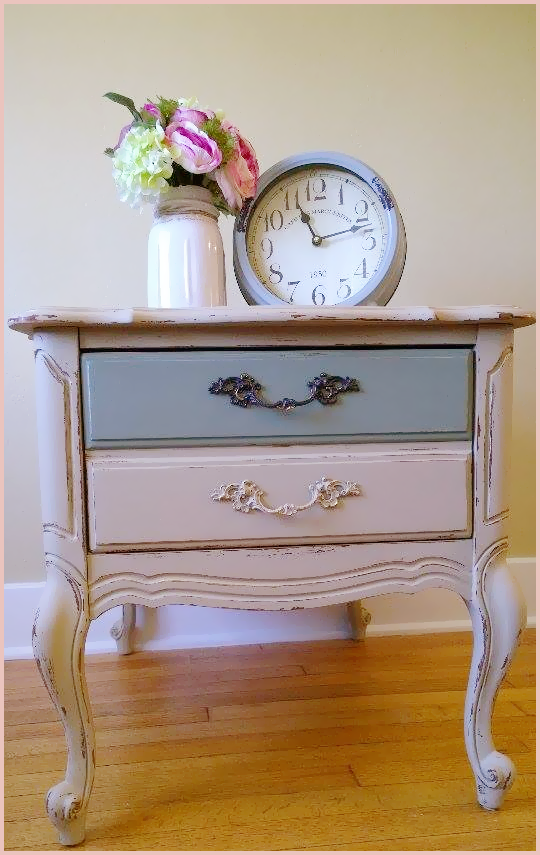
Furniture refinishing really brings out my artsy side, I can literally transform anything with color. Don’t like the color of those cabinets? Paint it! Stains on your dresser? Paint it! Worn out looking table? Paint! The whole world comes together in a canvas in my mind, and I am the paintbrush. It feel good knowing that I no longer contribute to the million tons of garbage that gets dumped into our landfills and oceans every day. This is a good feeling that is also extremely addicting.

I love to cook but I feel that painting is starting to become a much bigger passion. See you at Home Depot!

Minwax’s Wax Review

19 May

There are so many blogs out there dedicated to Annie Sloan’s clear/dark wax that I decided to write about my own experience with Minwax’s product.

First of all, I have tried both and although AS is easier to use, I personally prefer Minwax due to:

A) Price and availability. One pound of Minwax’s clear wax is $9.98 at Amazon.com AND you can find it at your local department stores. AS’s can be as much as $30 if you live in the United States!

B) Minwax’s dark wax is so beautiful when brushed on, and it goes on very light. Personally I prefer this because I DON’T have to do any wiping with a cloth (I just rub in with a brush). If I want more coverage I do a second coat.

Here’s the thing though, I am not a huge fan of excessive aging and distressing. I like the golden brown look of waxed furniture, and Minwax does a great job with subtlety. Plus it is extremely versatile!

(This was after only one coat of the dark wax! No wiping!)

Instead of having to wipe off excess dark wax (such a waste!), the color blends into the wood and gives it a slight stain. And yes, you DO want to use a brush (flat or round), because it is a real pain to get good coverage with their dark wax when using a cloth.

The “lightness” factor could be a deal breaker for some, and that is understandable. Waxing is a taxing process in itself and who wants to spend more time re-applying coats if you’re anyone but me?

Another possible con is that Minwax’s clear wax has an orange-y tint to it. This isn’t a problem for me because I haven’t noticed a difference when applying on white furniture, and since I usually follow with a dark coat…the truth is, well who cares?

So to summarize, if you are a fan of subtle dark and age-y furniture, go with Minwax. If the orange tint (that isn’t visible upon application anyway) doesn’t bother you, use Minwax’s clear wax. If you are frugal (like me) and don’t care either way, use Minwax!

Beginner Tip: Use a blow dryer on low heat setting to melt the wax before applying.

Victorian Coffee

19 May

I love coffee, but I am a major wuss so I settle for novelty brands (Baskin Robbins’ Cappucino Blast…mmmm). My husband can attest to all the situations in which an argument has subsided with one phrase: “Let me get you some coffee”. He is a dream, no wonder I married him ;).

Today, I wanted to share a coffee table that I painted with Annie Sloan’s Paris Gray.

I compared this color with Behr’s Sparrow according to this chart here. It turned out to be a perfect match! Now I know where to get ASCP colors without the price tag.

On with the story, I found this table on Craigslist for $20. It was initially meant for my living room, but upon seeing it in person I found out that the table was too short.

I decided to take her home anyway, because i knew she had potential. Plus her curves were too pretty to pass up.

I decided to mix some of the Paris Gray with Old White because I wanted a delicate grayish cream color.

It went on so beautifully! A very light grayish blush.

It’s so funny because during this entire time I got my husband to paint some of the wire tubings that we recently purchased for our place. It was a fun bonding experience, who’d knew?

Since chalk paint dries so quickly, I was able to distress her within one hour.

I used 220 grit paper and started to sand while the paint was still soft.

So at this point, I wanted to try something a little different. I read on this blog, that you can use baby oil and wood stain to achieve a distressed look while maintaining the original color. Let’s just say I tried this technique and it was a major disaster for me.

I had no idea how much stain I needed to apply, how long to wait between wiping, and how much to remove. Either way, I will probably try this method again but with a lighter stain color.

Beginner Tip #1 NEVER.. EVER sand your table in a circular motion. I made this horrible mistake when sanding the edges of my table, and after using the stain, it crept into the wood and left a dark gray color that is very noticeable! Always sand in the direction of the grain, I don’t know why I didn’t do this to begin with.

Beginner Tip #2 Unless you are going for a super chippy look, try to hold off on over-sanding and distressing. The results could be disastrous and unnatural.

Seeeeeee? See what happens when you go overboard? It looks unnatural.

And here is the finished result.


New Love

18 May

When I first discovered furniture painting, my mind didn’t immediately go to all the crazy things I could refurnish in my house. Instead, I thought about all the sad lonely items that are thrown away, discarded, and destroyed each day in our country. Items that could have otherwise been renewed, redeemed and revived. The idea of transforming something old into something new again gave me a strange kind of hope, perhaps I was projecting myself a little bit through my art projects? Either way it is a beginning of a journey that has brought me a lot of happiness and satisfaction. It is no longer just a weekend hobby, it has become a passion of mine. My house has become a haven for homeless furniture, my clothes are covered in paint, and my porch is cluttered with paint brushes. Yet being the neat freak that I am, I find myself enjoying the “artistic” mess.


This was my first project, a sad lonely table that had beautiful shape. I was rather nervous at first, I have no idea what I was doing! Either way, I just told myself to paint and so I did.

I mixed up my own version of chalk paint using the 1 plaster of paris to 2 paint ratio. The color went on so smoothly and finished so cleanly that I knew this would be my default technique.

I decided my colors were going to be Harvest Brown for the body and Grasshopper wing for one of the drawers. It’s funny because there is technically only one drawer while the other one is purely for show. I had to use tape to separate.

By the way, I’ve discovered that DIY chalk paint dries extra fast! This table was ready to be distressed within one hour. Amazing.

I was impressed by my taping skills the very first time, go me!

I used Rust-oleum rubbed bronze spray paint on the handles!

After everything was dry, I started to distress the table and drawers with 220 grit sand paper. I wanted to try something different instead of making both drawers the same.

The next day I sprayed some gold metallic paint into a can, and using an artists’ brush, I carefully drew some gold lines on the handles and the distressed parts of the table.

This made it so that when the light touches certain distressed parts of the table. It would give off a golden gleam. I am obsessed with anything gold so this part was totally necessary! 😉

Here is the resulting table!